Fresh Fruit Charlotte: Step by Step
For a BBQ class to reunite our prenatal class post-birth, we volunteered to make dessert. I had thought about something like the Summer Berry Pie but wanted to try something more advanced, just for the challenge.
I decided on the fruit charlotte recipe from Advanced Bread and Pastry by Michael Suas. As research, I found two blog posts by hansjoakim describing his two experiences [1] and [2] making the cake. I also found the recipe (PDF) online in a SFBI newsletter.
The recipe in the book is not scaled correctly! I’ll describe more in the steps below, but after comparing the version in the first edition of the book against the SFBI version linked above, I’ve noticed a few discrepancies. Specifically, you need to make more ladyfinger batter as well as more diplomat cream. Don’t use the recipe from the book without some adjustments.
Day 1
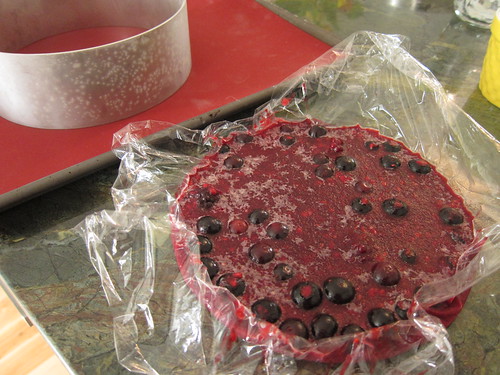
I started by making the berry layer. I used frozen berries, thawed and liquified in a blender to make the puree, plus fresh berries. These are all combined with a vanilla bean, sugar and gelatin. I used a total of two sheets of Gelita Gold gelatin (recipe calls for 1⁄8 oz gelatin) and it set up a little too firmly; next time, I’d use one and a half sheets. I didn’t have a Flexipan (silicon) mold, so I used a smaller (6 or 7”) cake ring placed on a Silpat and lined the inside with plastic wrap. The completed compote is about 1 cm thick.
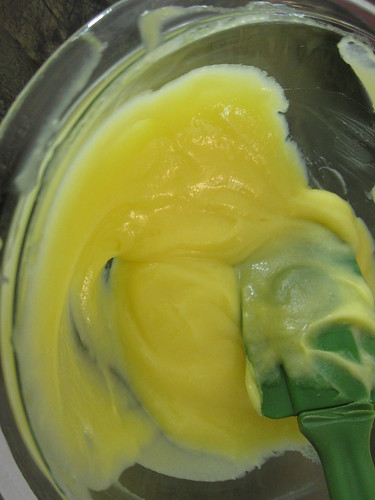
Next, I made the lemon crémeux (French for creamy), basically a standard lemon curd. Once the berry layer was frozen, I lifted it out still attached to the plastic film and wrapped it tightly. I re-used the cake ring setup to freeze the lemon layer.
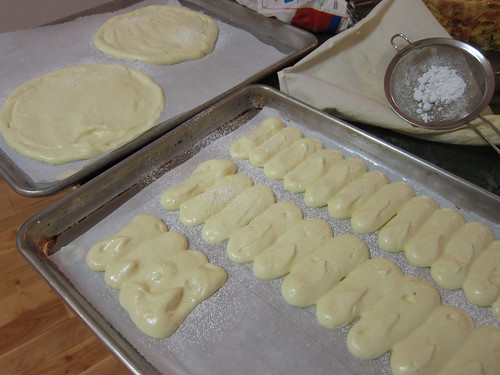
Next, I made the ladyfinger batter. I didn’t want to run out of ladyfingers so I doubled the quantities. I didn’t have egg white powder, so I substituted cream of tartar. I also omitted the trimoline because I didn’t know what it was and the quantity was so small. It turns out that it’s just invert sugar syrup, which I actually do have a container of. Anyway, potato starch was one ingredient I didn’t have on hand and needed to purchase. It comes in a small resealable zipper lock packet, but I’ve also seen larger quantities, e.g. Bob’s Red Mill produces it. I used a pretty big piping tip so these came out a bit chunky.
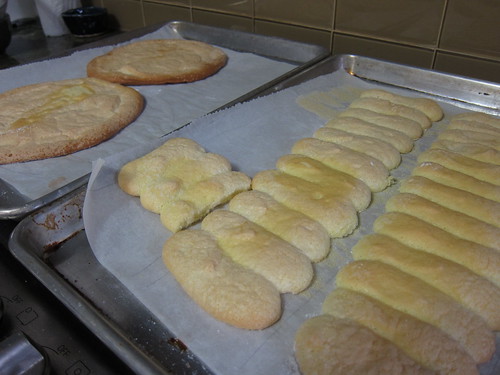
I needed almost double the baking time in order to fully brown the ladyfingers. I attribute this to the thickness of my piped fingers. I let the baked band and discs sit overnight, covered with a baking sheet. They came out a little moist (maybe residual heat or wet interior) so I would just loosely cover it with parchment or foil in the future.
Day 2
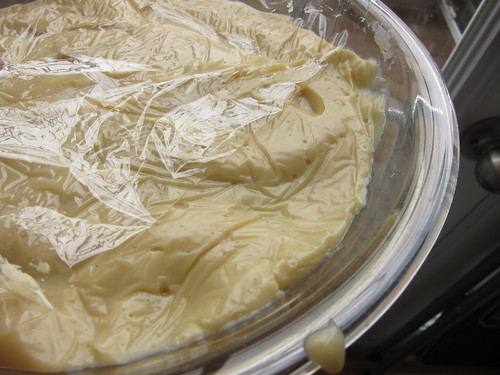
In the early morning, I made the pastry cream as directed, but substituted vanilla extract instead of a bean.
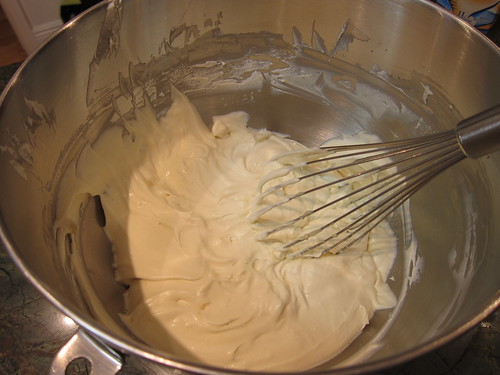
After making a batch of whipped cream, I proceeded to warm some of the pastry cream in the microwave, as well as melt the bloomed gelatin (two and a half sheets of Gelita Gold). Once these two were combined, I tempered the mixture with a bit of whipped cream, then folded everything together.
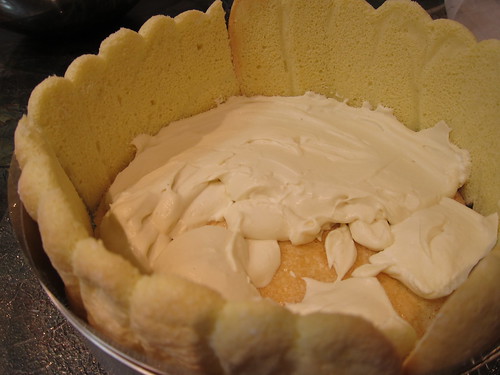
For assembly, I used an 8¾” cake ring, larger than the 8” one called for in the recipe. I lined the base with a ladyfinger disc and the sides with the bands. Using a brush, I moistened the base with a kirschwasser syrup. Using a measuring cup, I scooped about a cup of diplomat cream and smoothed it with a small offset spatula
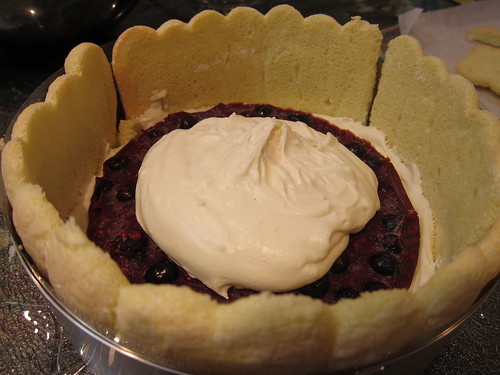
Continuing the assembly, the frozen berry compote layer is placed gently on the cream, and another cup of cream is poured over. You need to work quickly or the mixture will set and be harder to spread. The book recipe omits the step of placing the second ladyfinger disc between the two frozen filling discs. Fortunately, the cutaway diagram shows the correct layering.
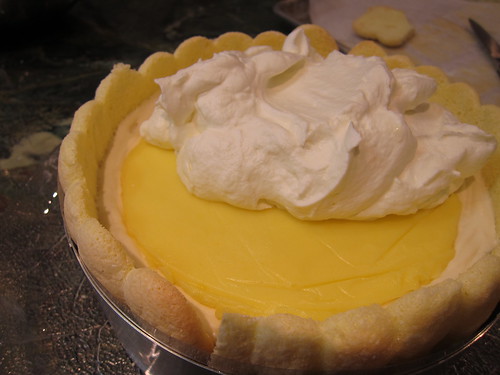
Here is the final layering where the lemon layer is placed on top. At this point, I ran out of diplomat cream. I quickly made another batch of whipping cream, tempered half a sheet of melted, bloomed gelatin with some warmed cream, and used it to fill the cake. At this point, I put the assembled cake into the fridge where it needed six hours to set up.
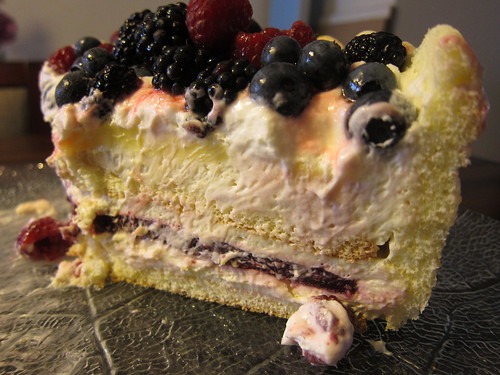
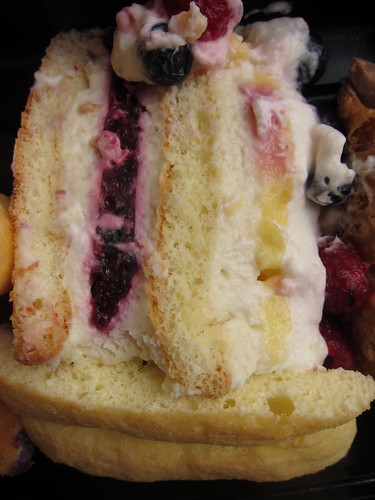
The last step is to pile fresh berries on top, and apply apricot glaze. I used blackberries, raspberries and blueberries and strained strawberry-rhubarb jam as a glaze. Unfortunately, no photo of the completed cake. Here’s two views of a slice of cake:
The cake was absolutely delicious. The ladyfingers turned soft and fluffy, and each layer was distinct and complementary. The technique of freezing soft filling layers is clever and effective. Highly recommended, and a cake I would definitely make again.
Leave a comment