Passion Fruit, Coconut and Cardamom Chocolates: Step by Step
For Valentine’s Day this year, I made molded chocolates out of ruby chocolate, after seeing it on the site of one of my favourite baking supply stores, Madame Gateaux. For extra flair, I also bought a few more colours of Roxy and Rich coloured cocoa butter while I was there.
I used a recipe from Dominique and Cindy Duby. Here’s the step-by-step!
Decorating
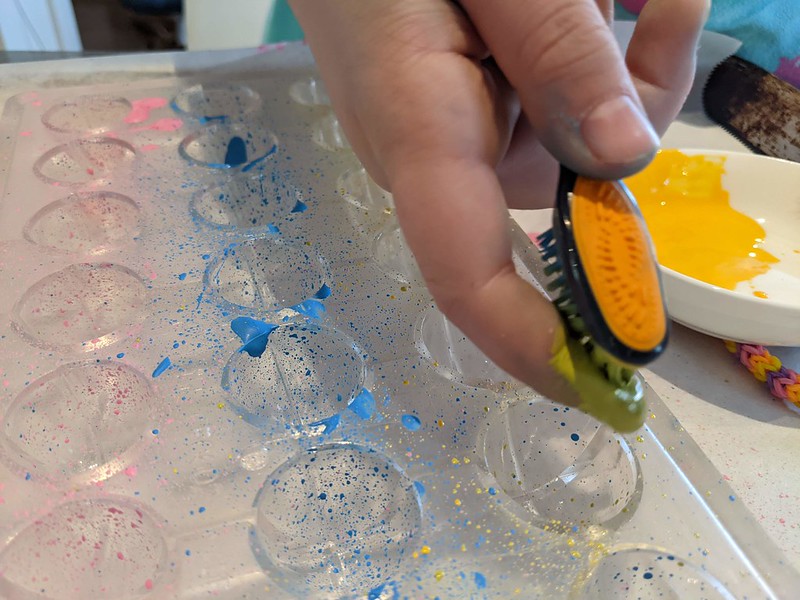
After polishing the cavities using cotton balls, I gently melted the coloured cocoa butter in the micro. Then, I had my daughter use a new toothbrush, and a small paintbrush, to spray, daub, and decorate the inside of the molds.
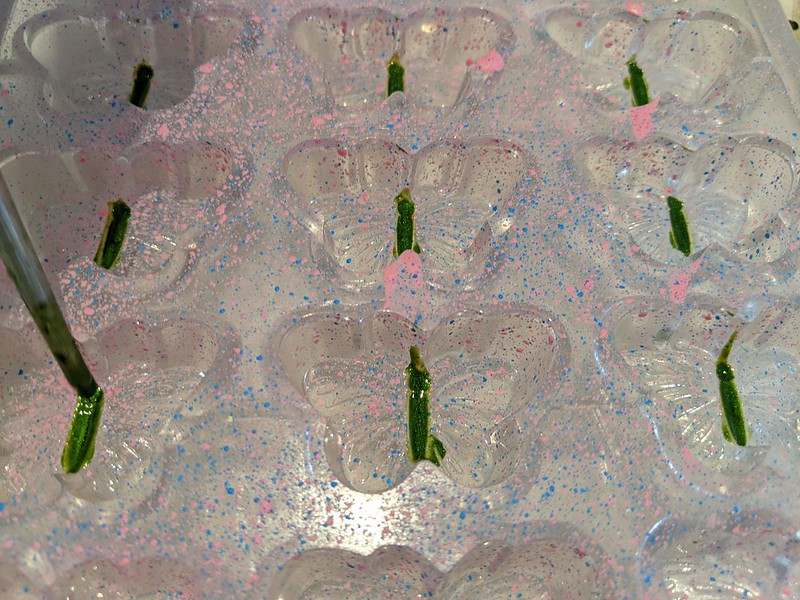
This green colour was from the Roxy and Rich “Gemstone” collection, and contains shimmering powder. It got far too liquid, and I’m sure we knocked it out of temper.
We used several colours for each one, and experimented with layering techniques. Here’s all the decorated molds.
After tempering 500g of ruby chocolate, I filled the decorated molds to make the top and sides of the shell. Here’s a video explaining how to do that. Pro-tip: use more than you think you need, as it’s hard to keep small amounts of chocolate in temper.
Ganache
The ganache recipe called for milk chocolate, but I only had 60% semisweet. It also doesn’t use any cream, but calls for passion fruit juice. I used a frozen puree from Canoa.
I toasted some unsweetened coconut flakes until they were deep golden brown, then used my large food processor to blitz it. I wouldn’t say it was finely ground, but I didn’t want to use my spice grinder, as it always smells like cumin.
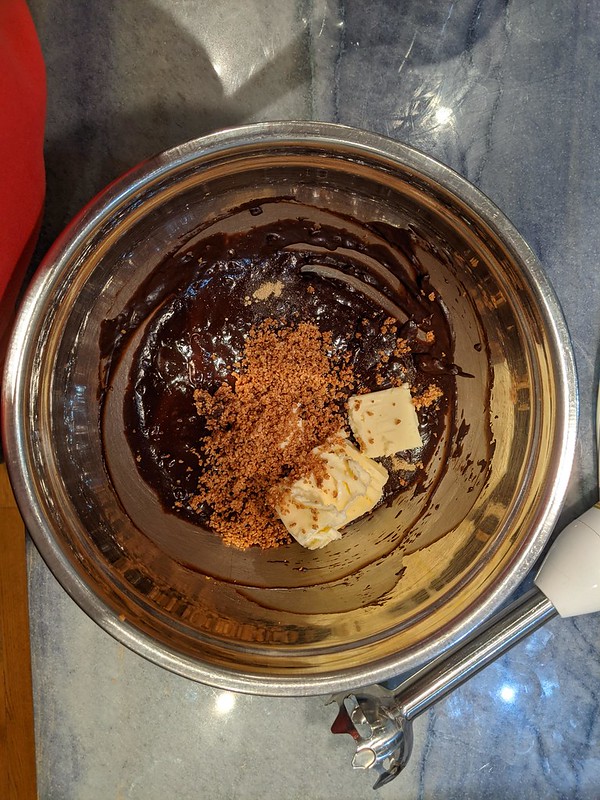
Unfortunately, the heated puree and corn syrup didn’t have enough heat to completely melt the chocolate. Even after using an immersion blender to emulsify, there were still a few lumps. I had to gently warm the bowl to get everything smooth.
Filling
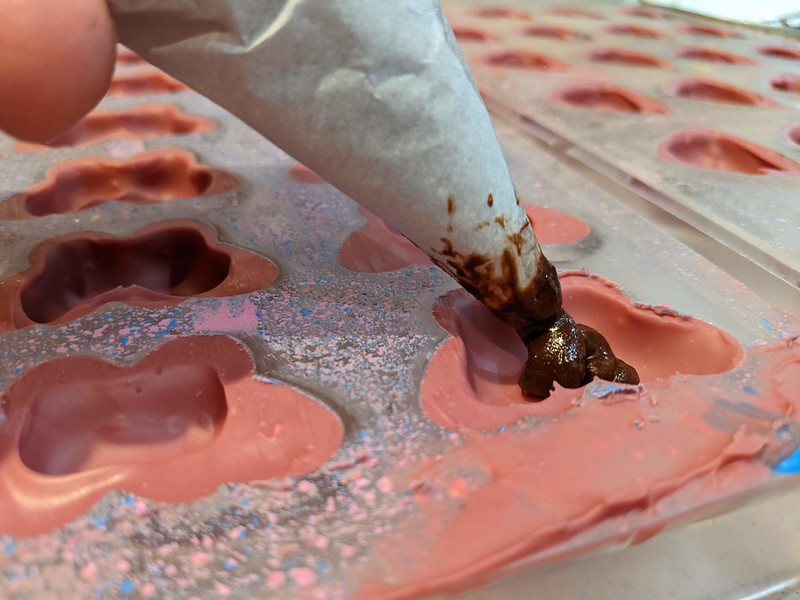
Once cooled down a bit, I was ready to pipe the ganache into the lined shells using a paper cone I made out of parchment.
I let the ganache crystallize at room temperature for 24 hours.
Sealing
Before covering the bottoms in chocolate, I wanted to make sure none of the filling was sticking above the surface. Using a cotton handling glove, I gently pressed down on the ganache.
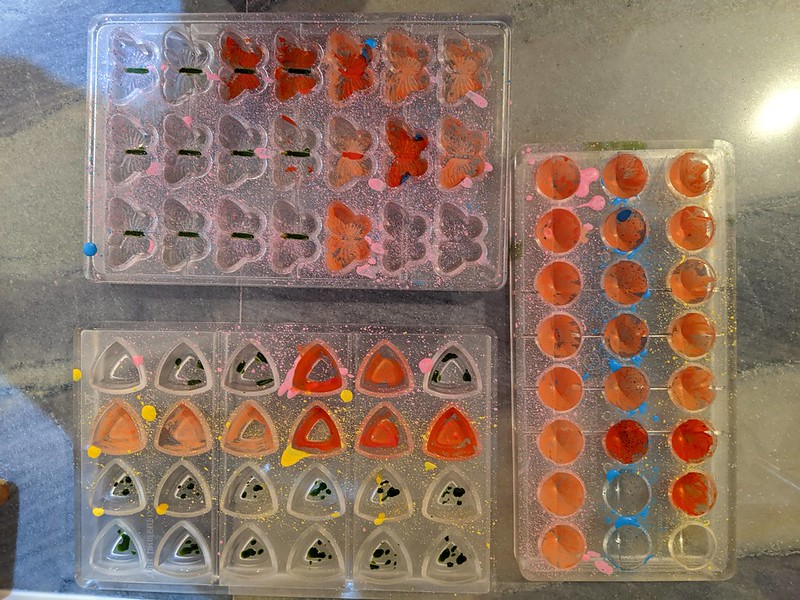
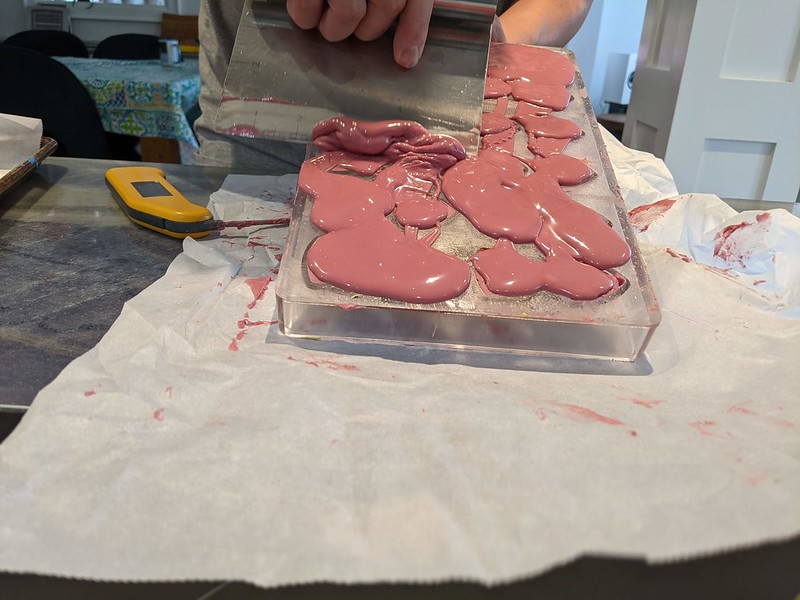
I used a hair dryer to gently warm the filled shells, so the bottoms would adhere better. I poured more tempered ruby chocolate over the molds, then scraped them clean.
Here are the three completed trays:
Unmolding
The chocolates co-operated this time, and I had no trouble knocking them out, without even needing a short spell in the fridge.
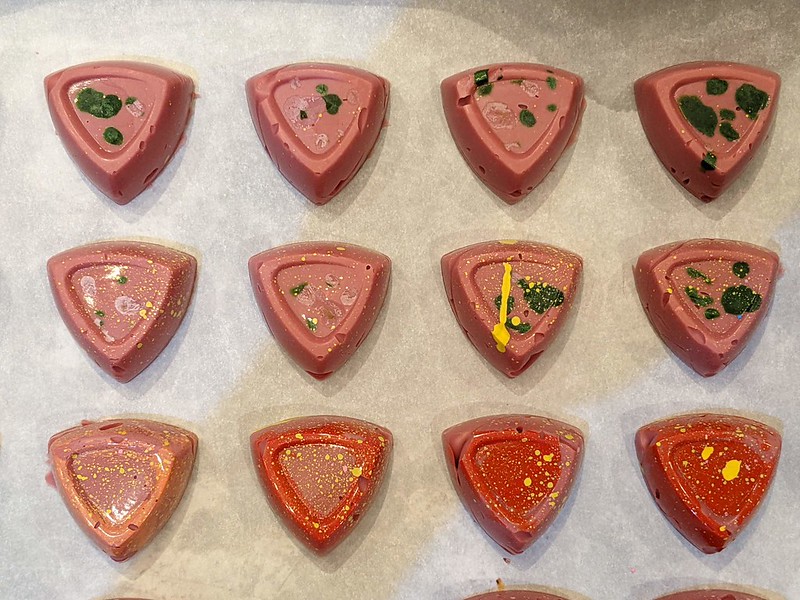
Pretty nice, huh? So profesh.
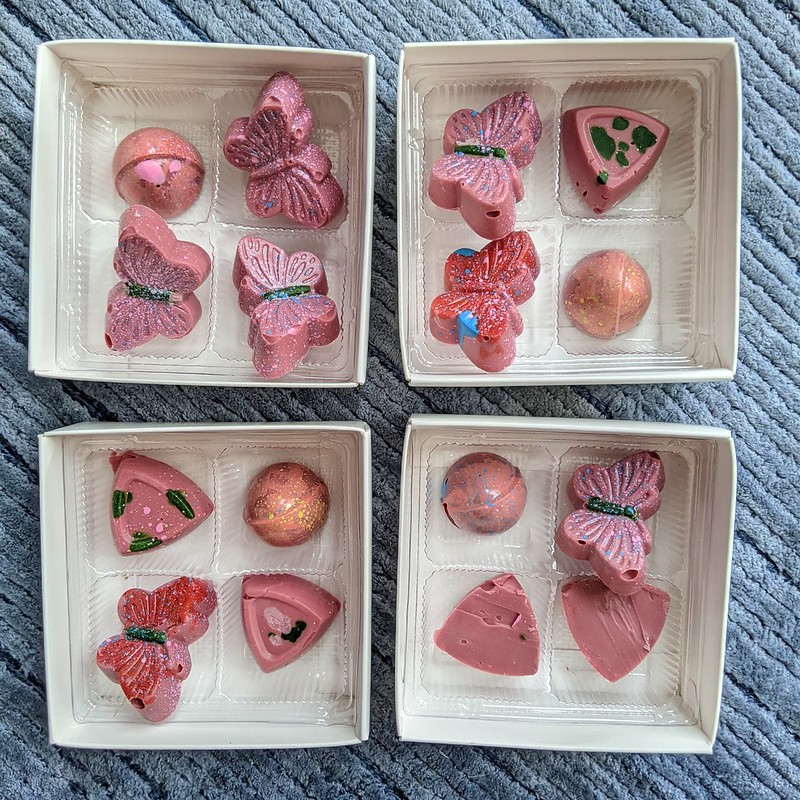
The triangles and butterflies were shallower, so they didn’t get a lot of the tart, fragrant filling. But they were still tasty.
I’m out of practise: my chocolates had too many air bubbles and some of the shells were pretty misshapen. However, none of them had any bloom, or unappealing gray areas from improper cooling or tempering.
This was a good experiment in playing around with colored cocoa butter, decorating techniques, and working with ruby chocolate.
Everyone we gave these boxes to was very pleased with both the appearance and taste, so I would call that a success! My daughter was really proud of her work, and now we have some experience for next time.






Leave a comment